The Lotus Notes install is two parts:
1. Software Installation
2. Setup/Configuration for Notes User
Click the triangle/twistie to view instructions for each section:
 1. Software Installation Instructions:
a. Download the installation programs/files from HCL Download Site(Passport). HCL calls them "Notes installation kits".
At the time of this writing there is a FP2 out for Notes 14.0. So we install both the main software and the latest FP, which currently is FP2.
Notes:
- For the HCL Notes 14.0 client, we download the main installation file. For the MacOS, we have two choices:
- - Notes140_English_Notarized_Mac.dmg
- - Notes140_English_Notorized_ST_Conn_Mac.dmg
- As we use Sametime chat for internal use, we use the second installation file.
- There is no installation kit for the Developer and Administrator clients as they are MS Windows only.
- We run the main installation first. Then we can run the latest fix pack immediately afterwards:
- - Notes1400FP2_English_Notarized_Mac.dmg
- - Notes1400FP2_English_Notarized_ST_Conn_Mac.dmg
b. Shut down Notes if running.
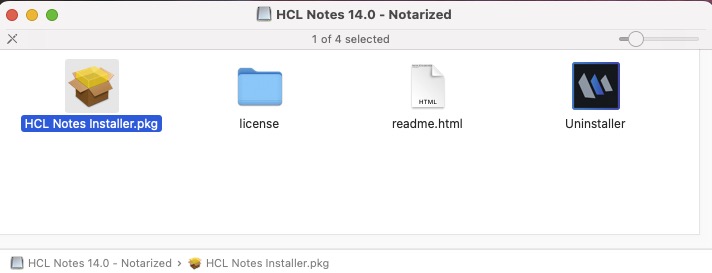
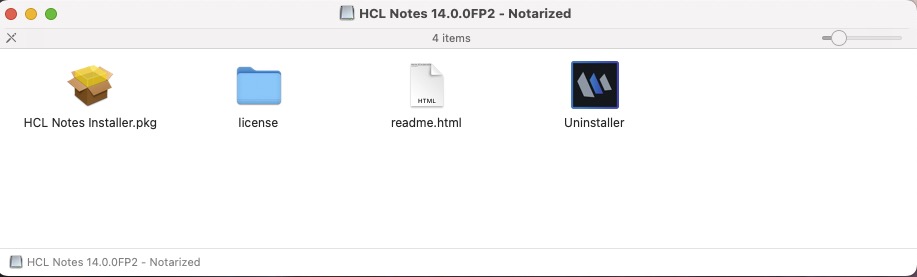
c. Open the main installation kit DMG file:
(e.g. Notes140_English_Notorized_ST_Conn_Mac.dmg) 1. Software Installation Instructions:
1. Software Installation Instructions:
a. Download the installation programs/files from HCL Download Site(Passport). HCL calls them "Notes installation kits".
At the time of this writing there is a FP2 out for Notes 14.0. So we install both the main software and the latest FP, which currently is FP2.
Notes:
- For the HCL Notes 14.0 client, we download the main installation file. For the MacOS, we have two choices:
- - Notes140_English_Notarized_Mac.dmg
- - Notes140_English_Notorized_ST_Conn_Mac.dmg
- As we use Sametime chat for internal use, we use the second installation file.
- There is no installation kit for the Developer and Administrator clients as they are MS Windows only.
- We run the main installation first. Then we can run the latest fix pack immediately afterwards:
- - Notes1400FP2_English_Notarized_Mac.dmg
- - Notes1400FP2_English_Notarized_ST_Conn_Mac.dmg
b. Shut down Notes if running.
c. Open the main installation kit DMG file:
(e.g. Notes140_English_Notorized_ST_Conn_Mac.dmg)
 d. Run the HCL Notes Installer.pkg,
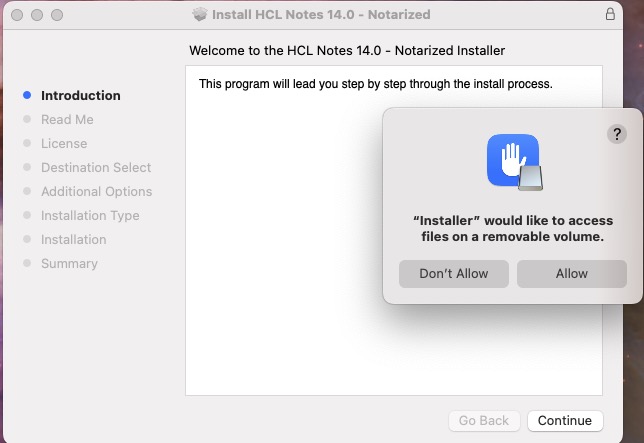
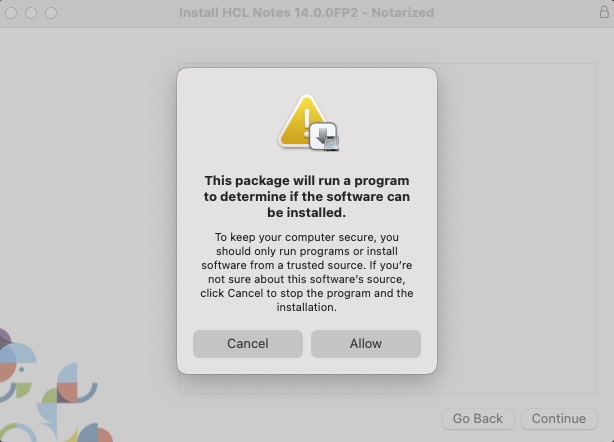
 At the package security warning. click Allow.
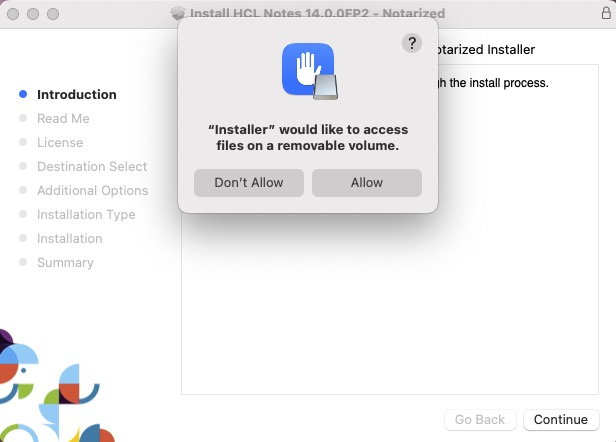
 At the next security dialog regarding accessing files, click Allow.
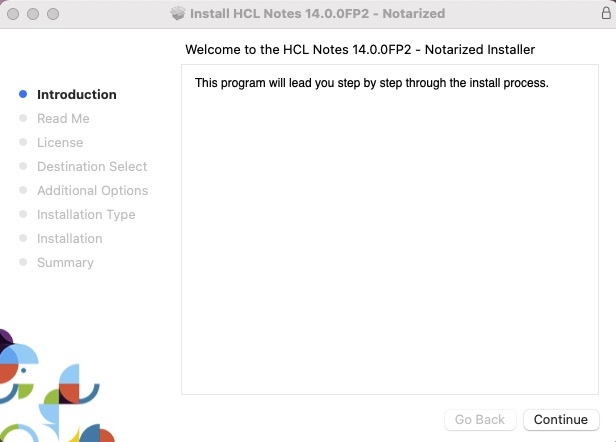
 Click the Continue button to begin.
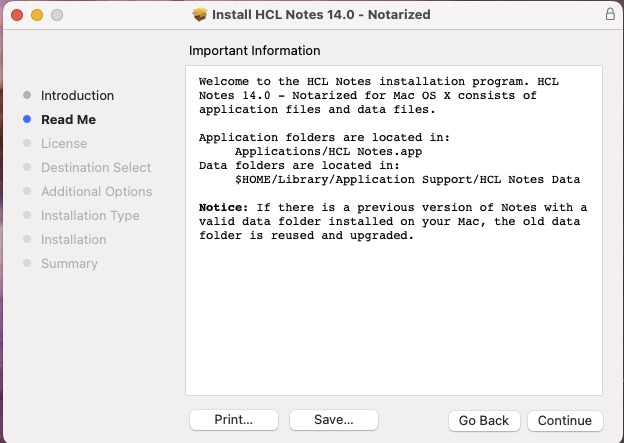
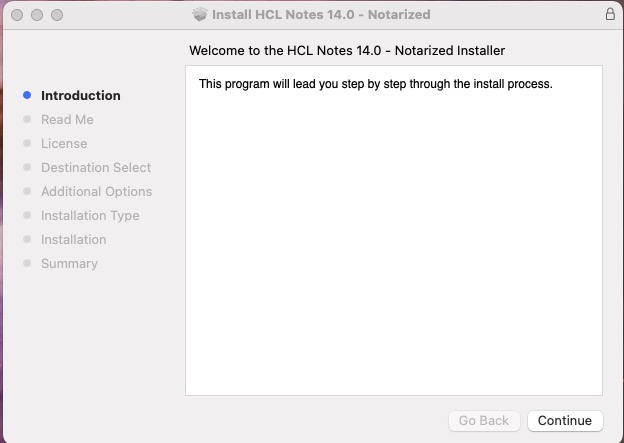 After reading the introductory text, click Continue.
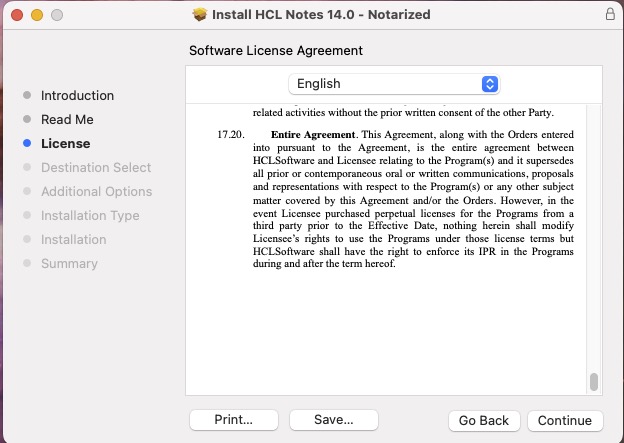
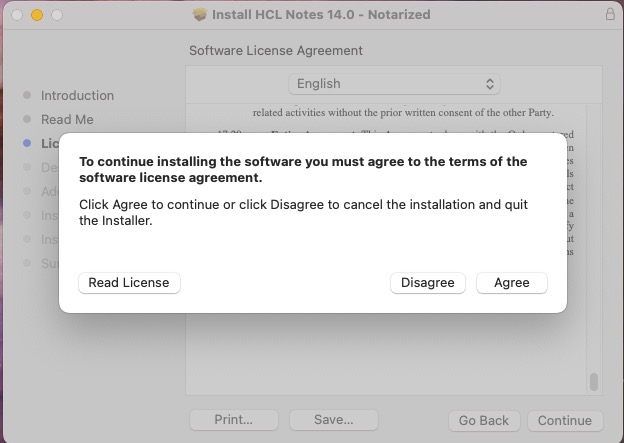
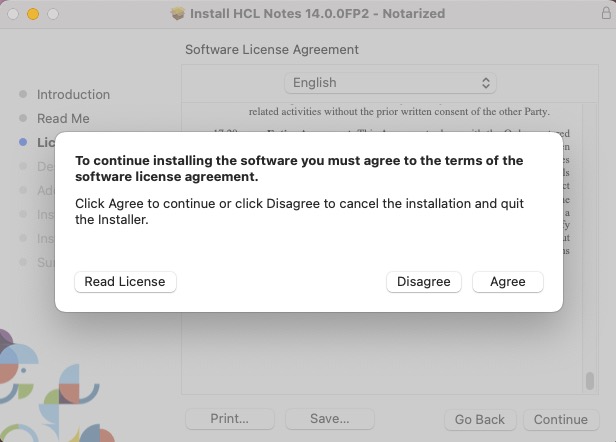
 On the Software License Agreement page, click the Continue button and the Agree button on the pop-up.
Do quickly, or your brain may begin to thaw and you might spend the day reading, wising up and picking up a pad of paper and a pencil.
On the Software License Agreement page, click the Continue button and the Agree button on the pop-up.
Do quickly, or your brain may begin to thaw and you might spend the day reading, wising up and picking up a pad of paper and a pencil.
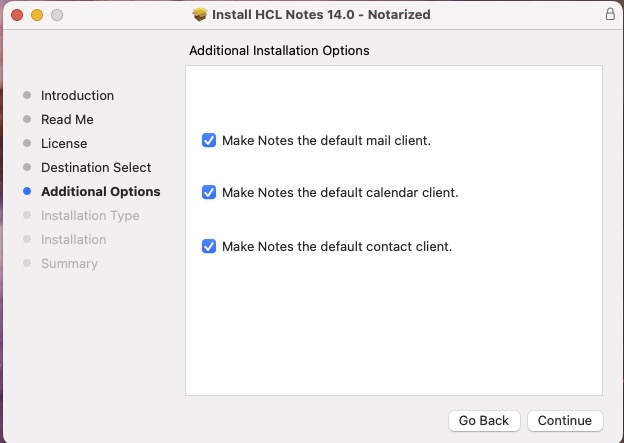
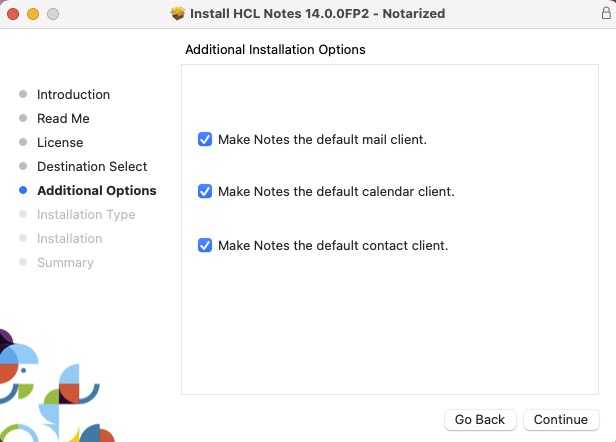
 Now that you've settled your eternal destiny and you are still reading, leave everything checked. Click Continue.
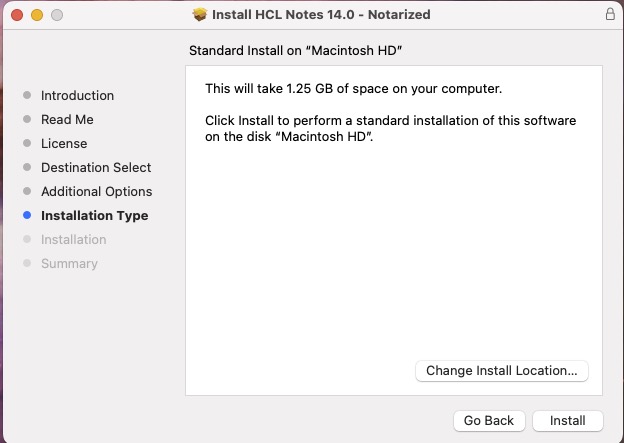
 Note the 1.25 GB offering, click Install.
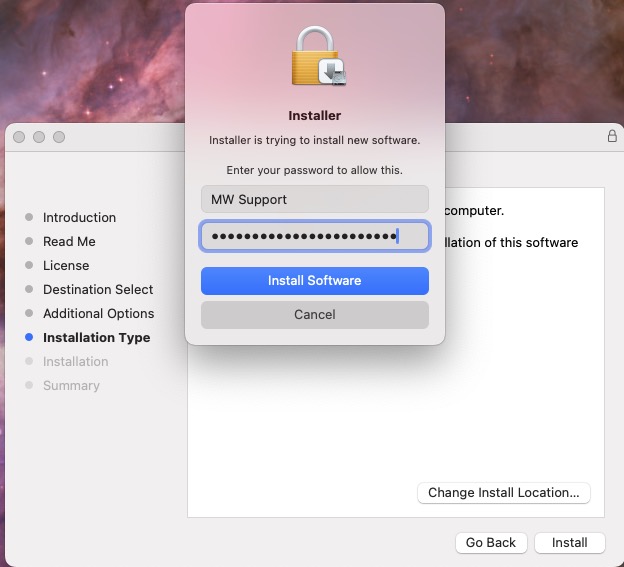
 In the security dialog, enter your workstation OS password. Click Install Software.
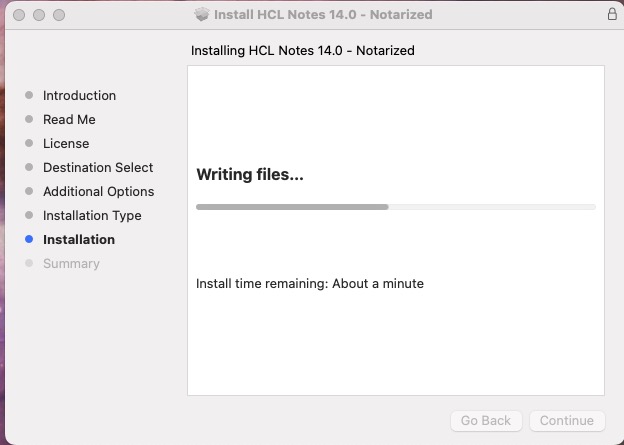
 Wait a minute or so for the install to complete.
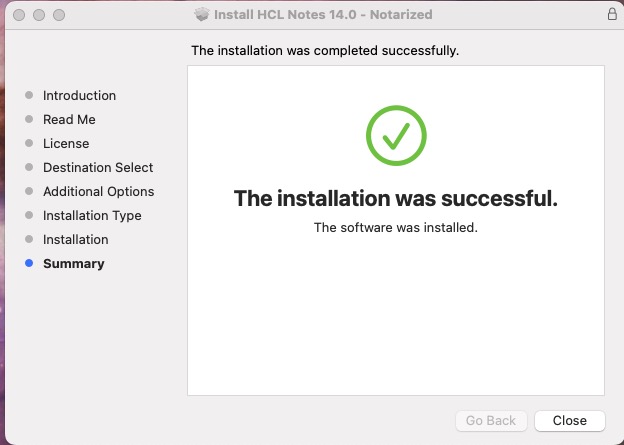
 At the success message, click Close.
(Eject the DMG image mounted on the desktop.)
At the success message, click Close.
(Eject the DMG image mounted on the desktop.)
 Before we start Notes, we'll immediately follow up the latest fix-pack.
e. Open the FP installation kit DMG file:
(e.g. Notes1400FP2_English_Notarized_ST_Conn_Mac.dmg)
Before we start Notes, we'll immediately follow up the latest fix-pack.
e. Open the FP installation kit DMG file:
(e.g. Notes1400FP2_English_Notarized_ST_Conn_Mac.dmg)
 f. Run HCL Notes Installer.pkg,
 At the package security warning. click Allow.
 At the next security dialog regarding accessing files, click Allow.
 Click the Continue button to begin.
 After reading the introductory text, click Continue.
 On the Software License Agreement page, click the Continue button and the Agree button on the pop-up.
Do what all good pragmatists do, Captain; compromise. ;-)
On the Software License Agreement page, click the Continue button and the Agree button on the pop-up.
Do what all good pragmatists do, Captain; compromise. ;-)

 Stay committed, leave everything checked. Click Continue.
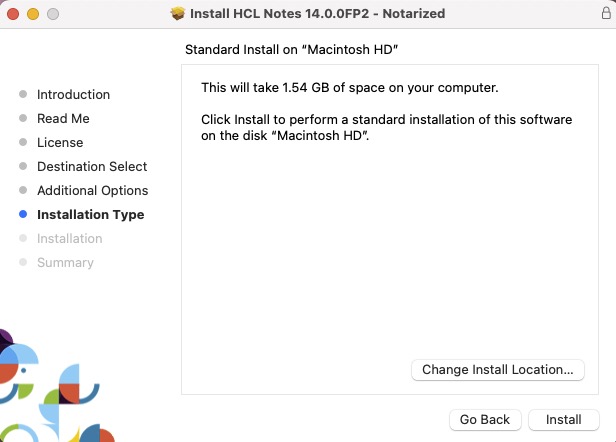
 Note the 1.25 GB offering is now 1.54 GB. It's really just another quarter GB max, click Install.
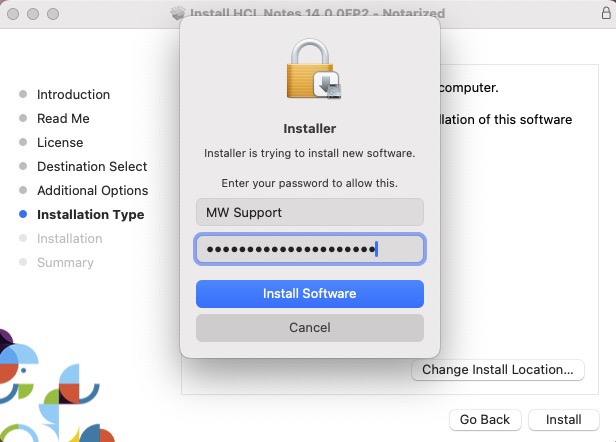
 In the security dialog, enter your workstation OS password. Click Install Software.
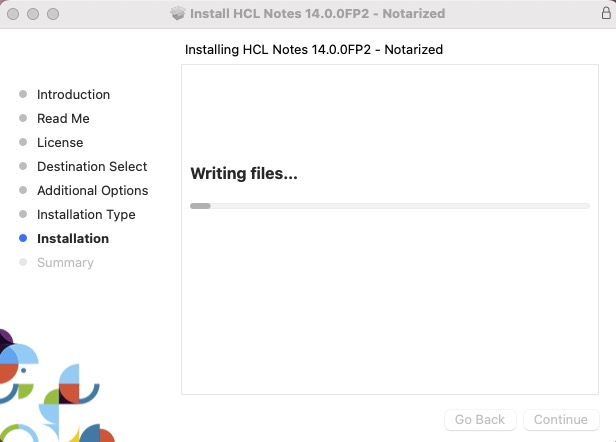
 Wait a minute or so for the install to complete.
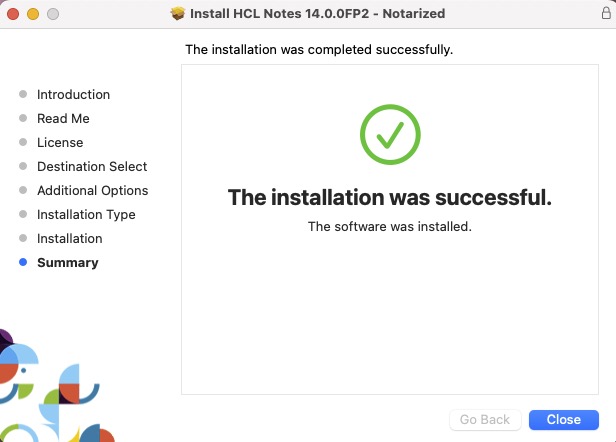
 At the success message, click Close.
(Eject the DMG image mounted on the desktop.)
At the success message, click Close.
(Eject the DMG image mounted on the desktop.)
 The installation is now complete.
Note:
- If this installation is a new install of Notes where Notes has never been installed for this user before, continue to the Configuration of Notes section below.
- If this install is an upgrade. There is no second part to set-up the Notes client. That's already done Just start Notes.
The installation is now complete.
Note:
- If this installation is a new install of Notes where Notes has never been installed for this user before, continue to the Configuration of Notes section below.
- If this install is an upgrade. There is no second part to set-up the Notes client. That's already done Just start Notes.
2. Configuration of Notes
2. Configuration / Set Up of Notes
a. Start HCL Notes using the icon within the Applications folder.
b. Make the Notes client mine - Entering my Notes Username and Domino Server Name
A dialog box/wizard should have appeared. The dialog box is asking your for your HCL Notes name and the Domino server's Notes name. The format will be like below:
e.g.
Name: Jane Doe/Mindwatering
Domino Server: ServerName/Mindwatering
Click Next.
c. Connection to Domino server:
The next screen asks, " How do you want to connect to Domino server?"
- Choose the " Local Area Network" option.
- Select your connection port type to be TCP/IP.
d. Enter the Domino server's DNS name.
e.g.
Connection: Local Area Network
Port: TCP/IP
DNS Hostname: servername.mindwatering.net
Click Next.
e. The server will then be contacted and retrieve you ID or ask you for a supplied ID on disk.
Once Notes has your ID you will be presented for you password. Enter it -- it is case sensitive.
f. If not using Sametime chat or HCL Connections, skip the configuration other services such as Sametime Instant Messaging and HCL Connections. Click Finish.
Once you have completed the wizard. It will pause and think while the installation ...
- creates your local Contacts (address book), bookmarks, and desktop. and
- configures your local machine for the settings you entered.
Once it is done, it will notify you Notes Setup is Complete and bring up your login password prompt.
If you are a Mindwatering client, contact Mindwatering Support if you have questions.
previous page
|